Posted by: hearttohearthcookery | October 20, 2013

Hominy Basket

IMG_7656-002  
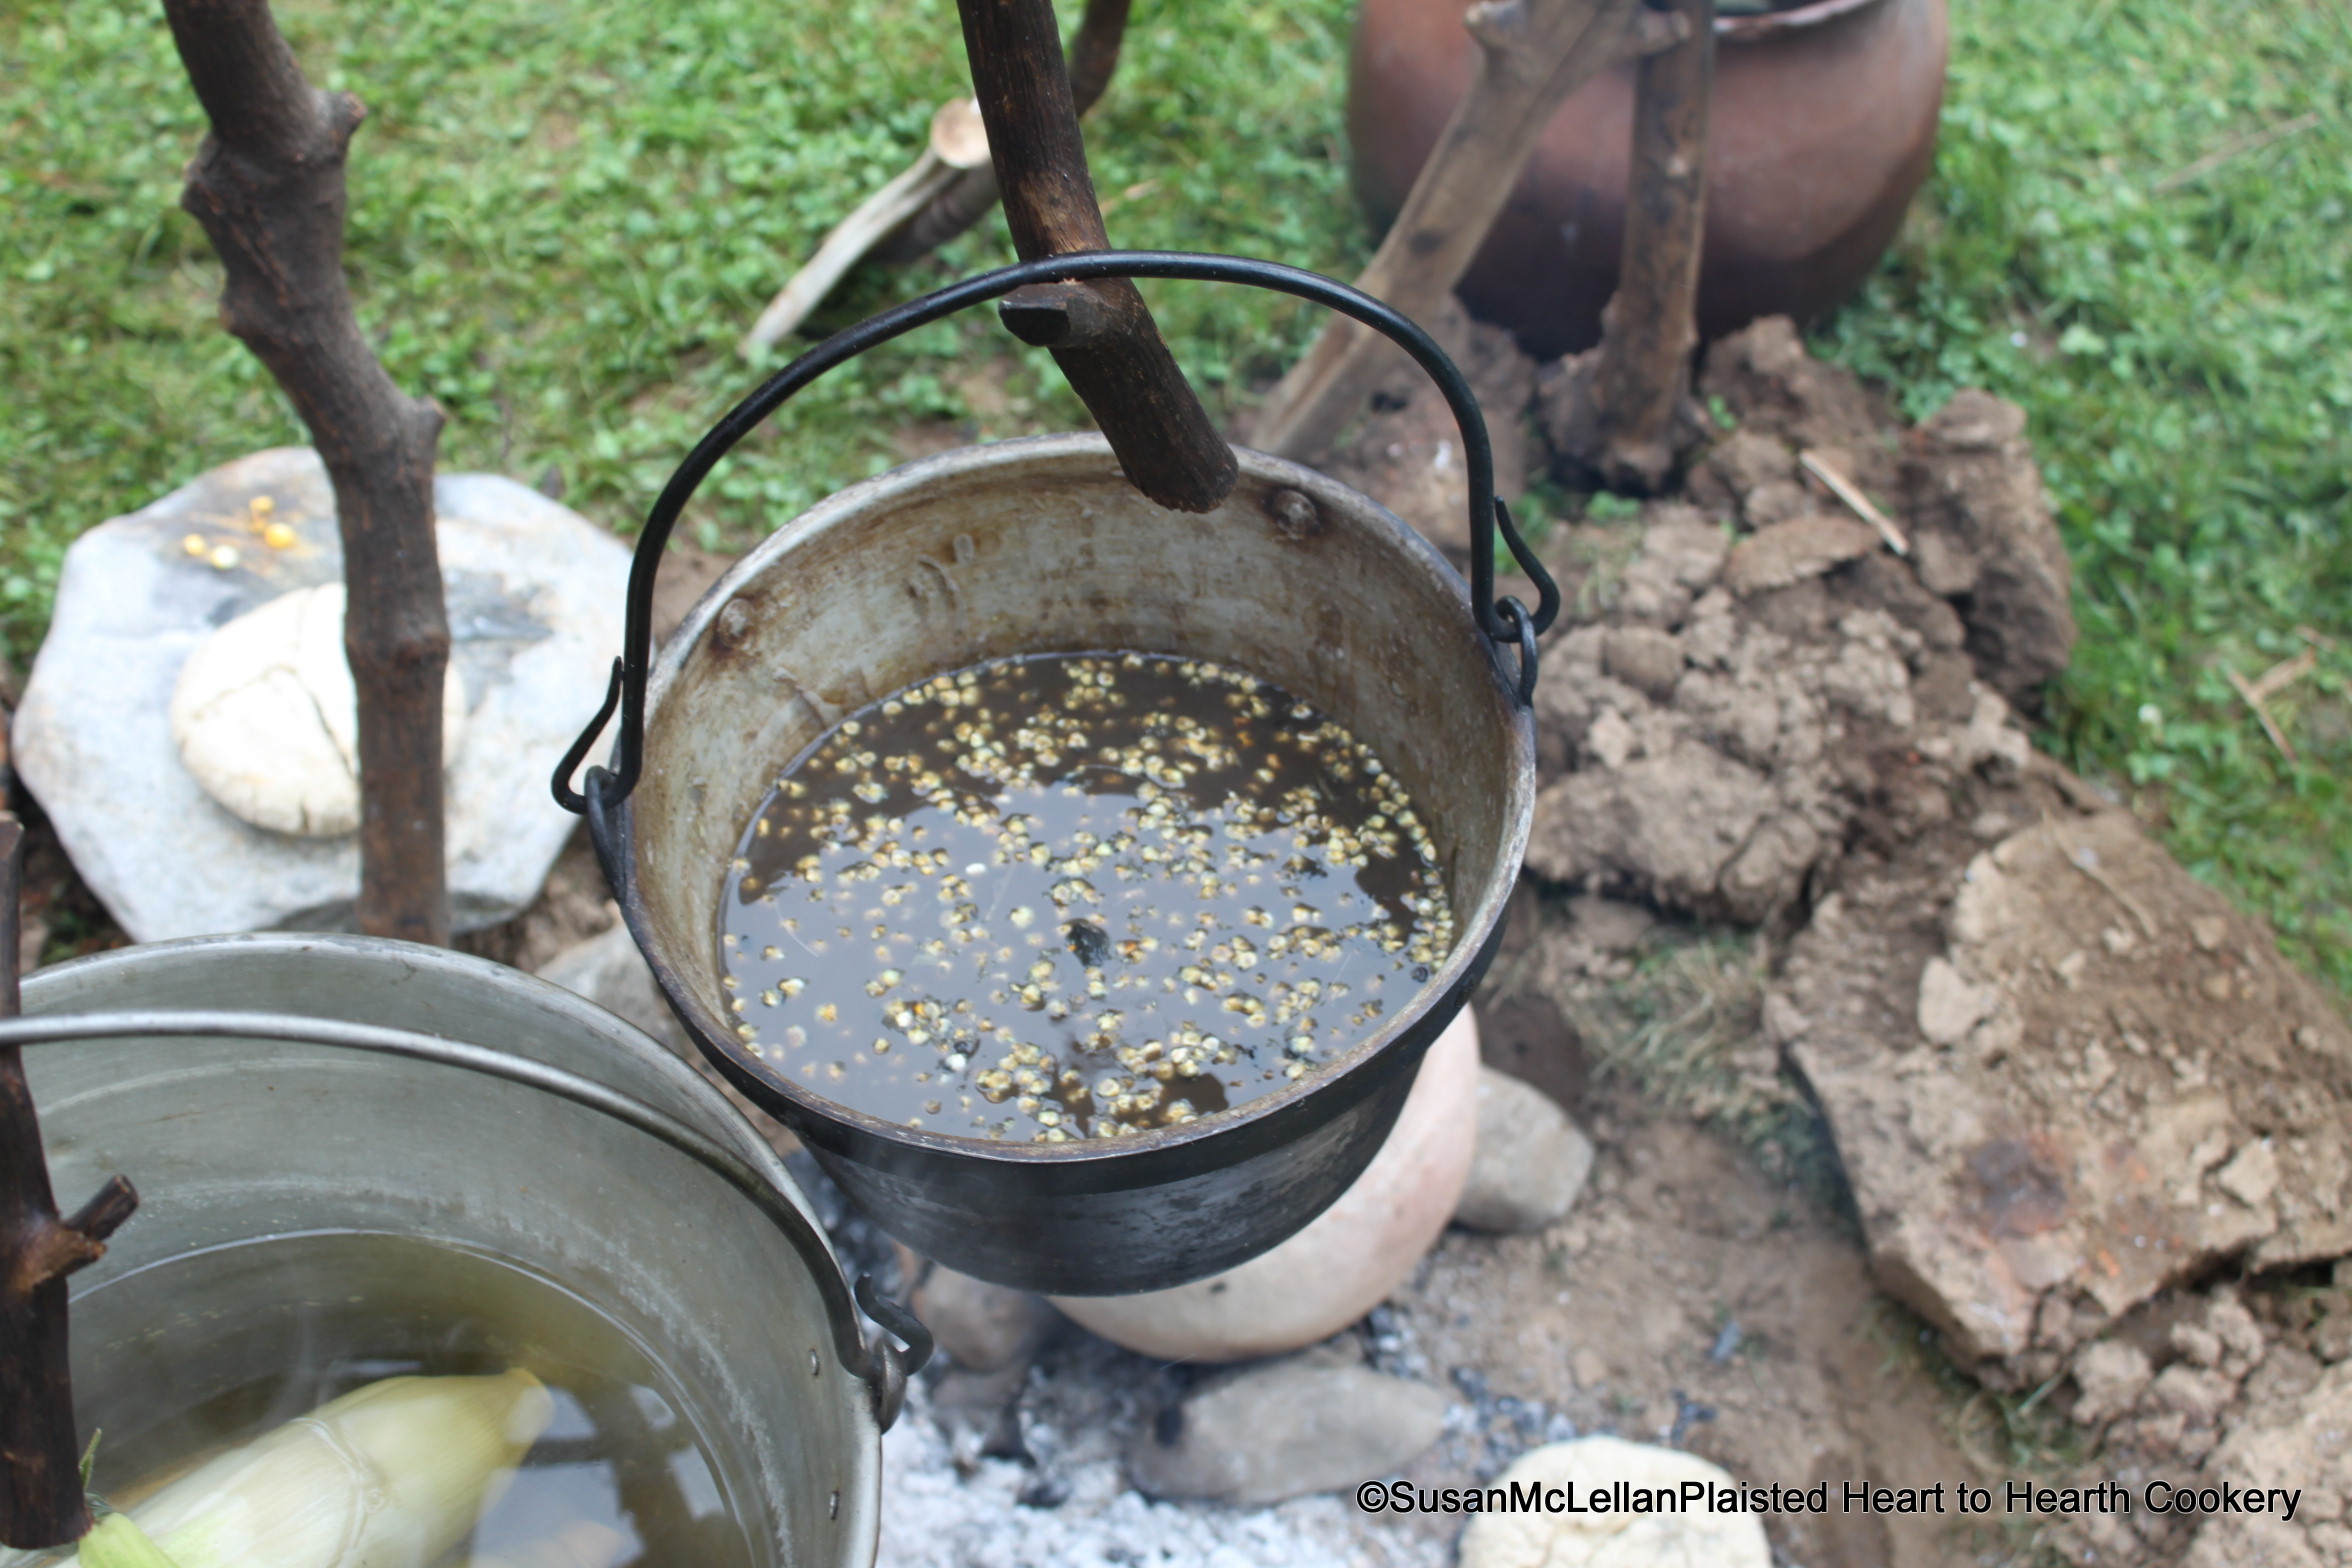
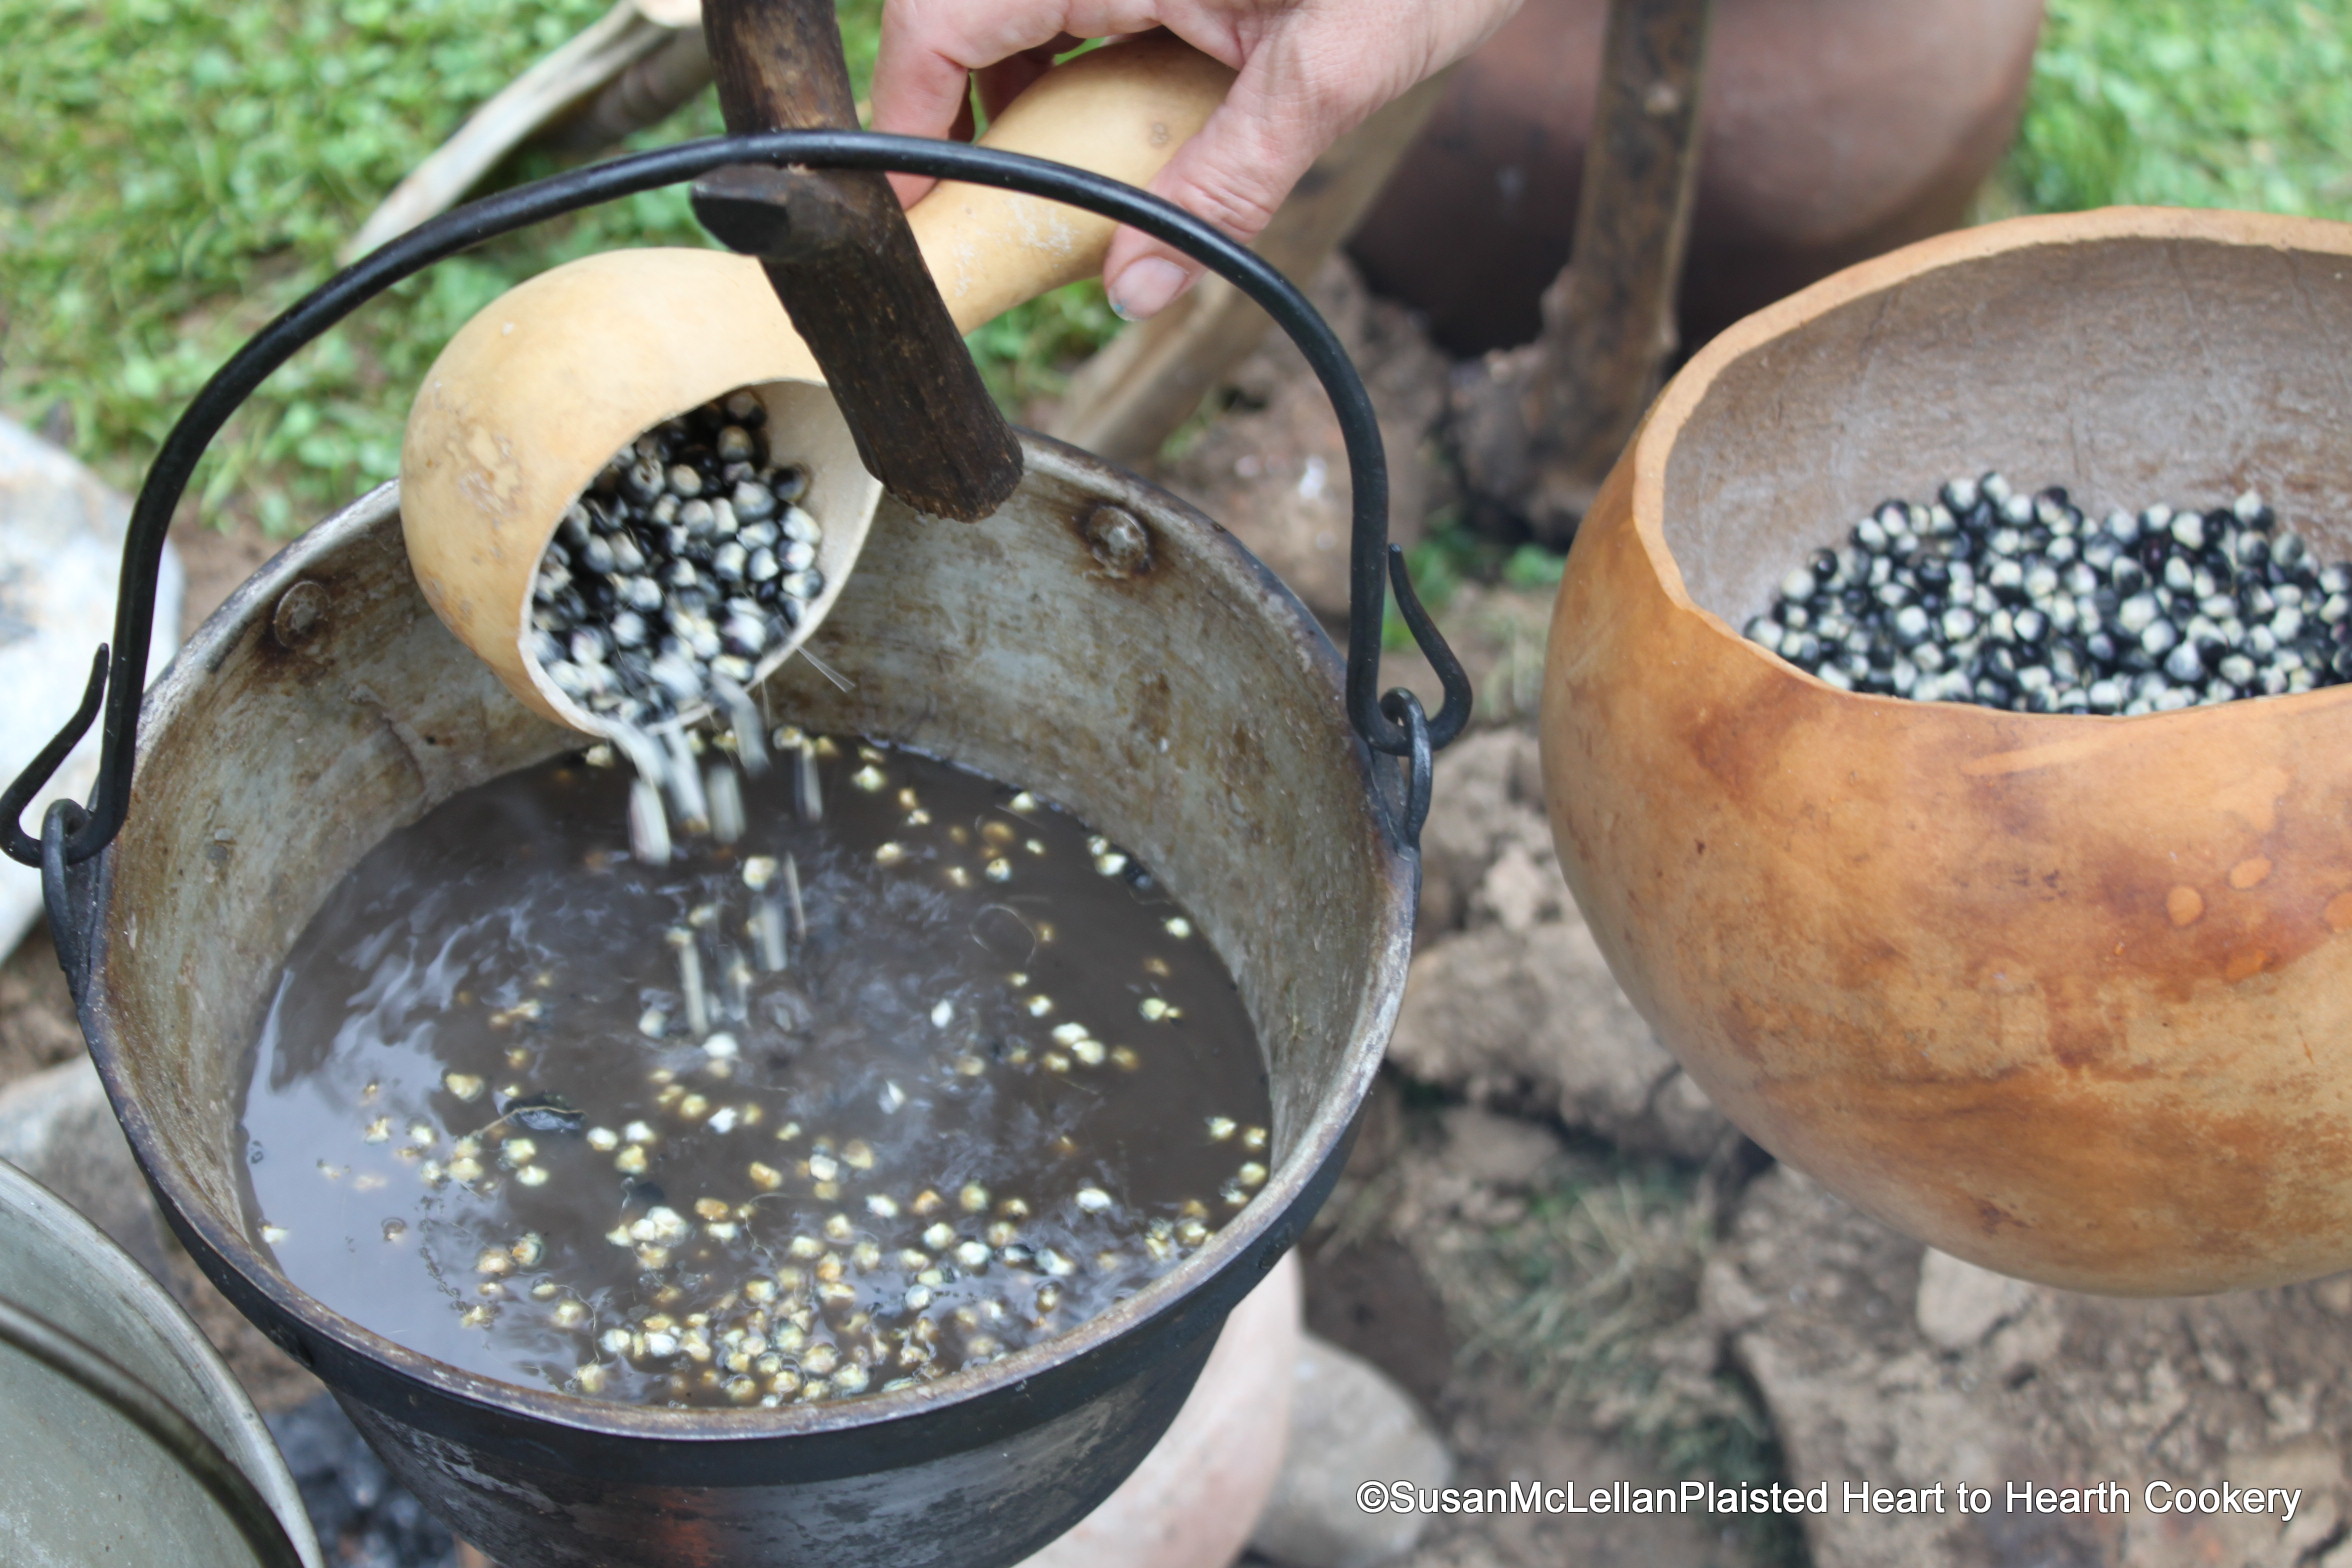
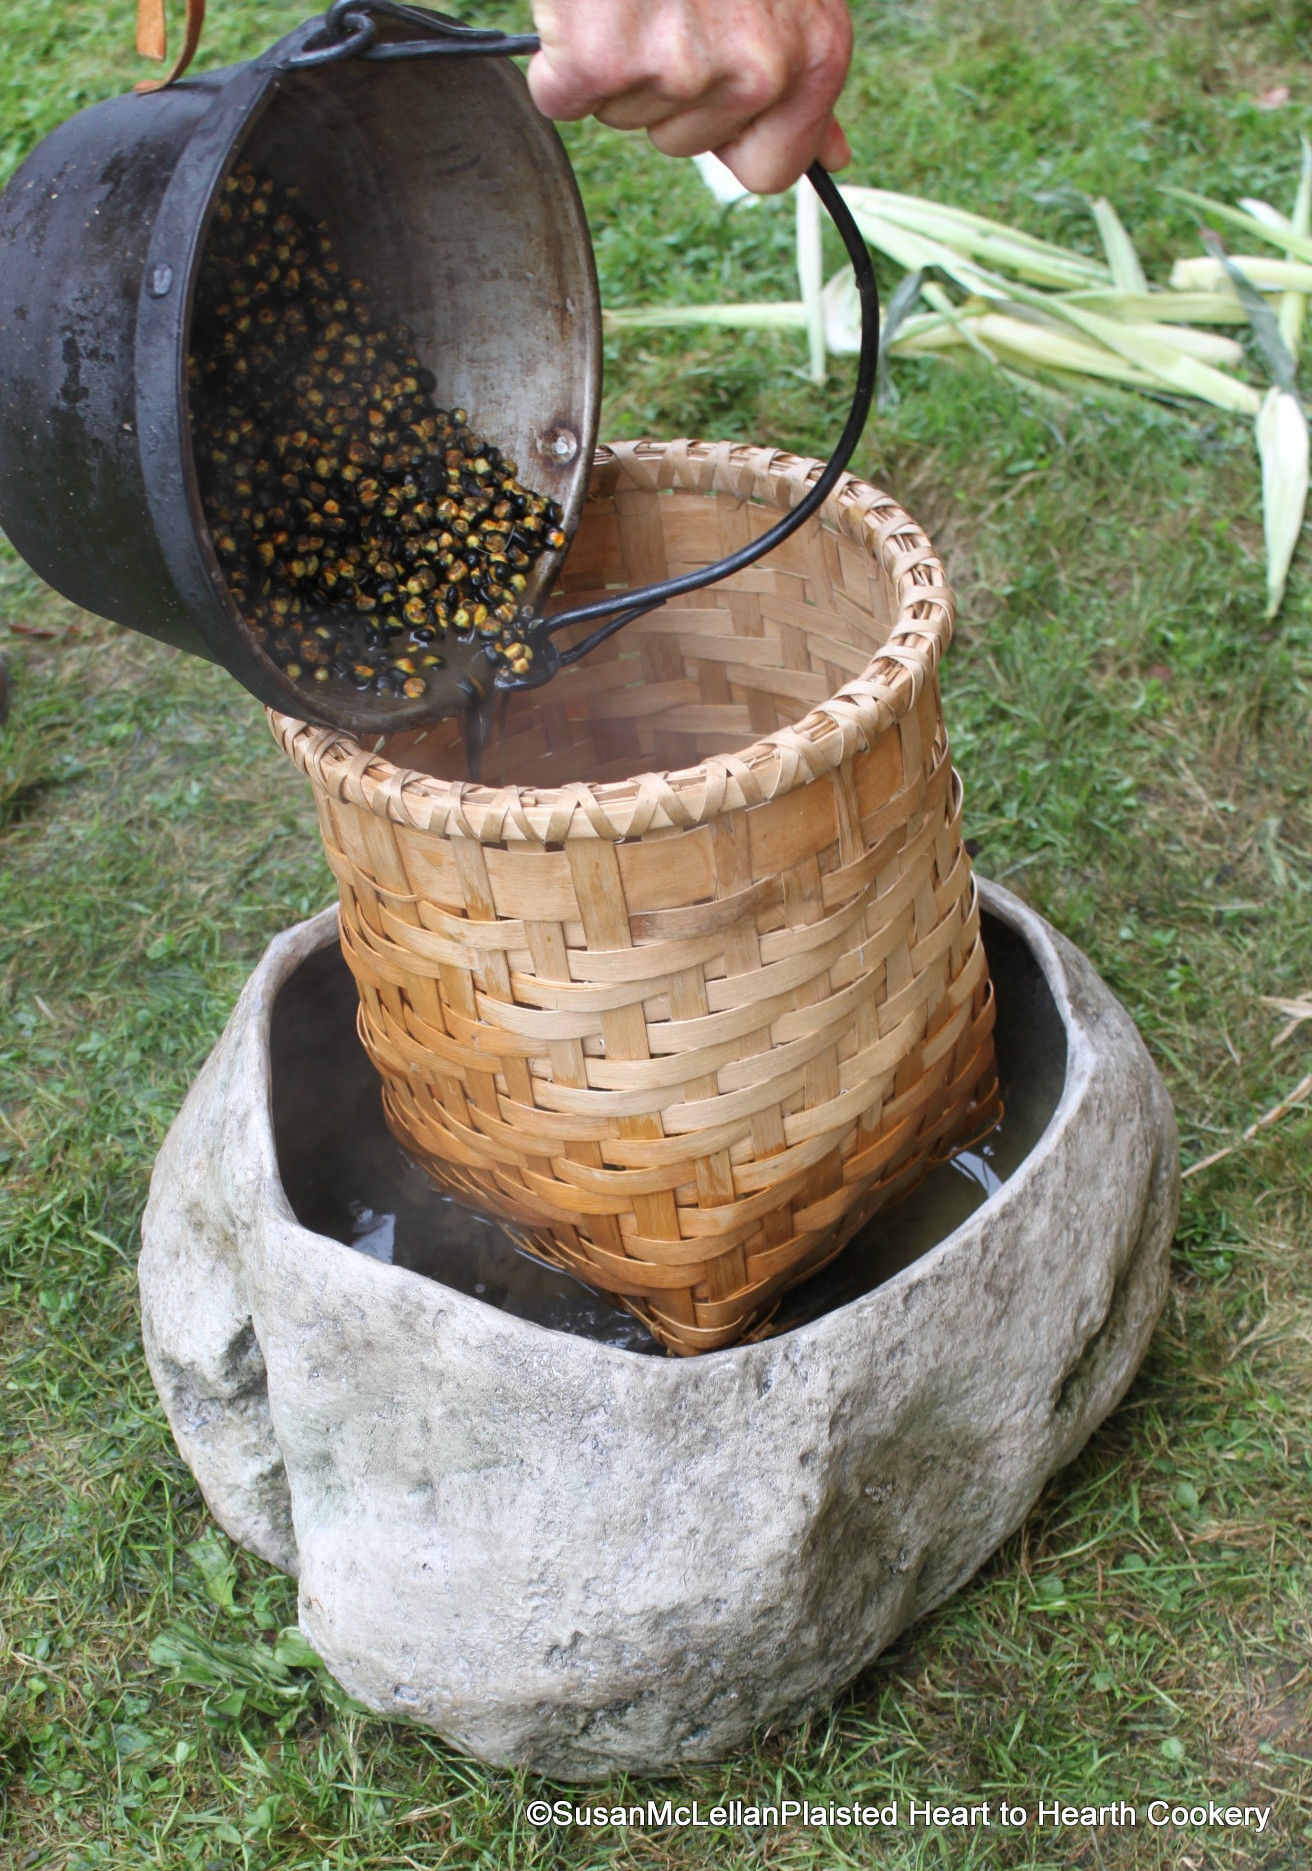
Without the ability to take my lyed Lenape blue flour corn and reproduction hominy basket to nearby flowing water, the water was changed frequently in this “rock” vessel until the corn was washed with the hulls floating to the surface.  (See previous posts for more information on the nixtamalization process)

Visit my website at:   www.hearttohearthcookery.com

Posted by: hearttohearthcookery | October 19, 2013

Nixtamalization

IMG_7651-001  As the Lenape blue flour corn kernels sit in the alkali mixture of sifted ash and water, the process of nixtamalization begins.  Ultimately the pericarp (hulls) will be removed from the kernels which makes them more easily ground into flour, the nutritional value will be enhanced, and the flavor and aroma of the corn improved.

Visit my website at:   www.hearttohearthcookery.com

Posted by: hearttohearthcookery | October 18, 2013

Kernel was Red-Orange

IMG_7650-001  When the white flour corn kernel turned a red-orange,  blue corn was added until the kettle was full.  The nixtamalization process has started.  (See previous posts)

Visit my website at:   www.hearttohearthcookery.com

Posted by: hearttohearthcookery | October 17, 2013

Lye for the Blue Corn

IMG_7642-001   The lye (alkaline solution) for processing the Lenape blue flour corn into hominy is prepared by adding oak ash that has been sifted through a grape vine basket.  I tested the solution by adding  a kernel of Lenape white flour corn as it turns an orange-red when the solution is the correct alkalinity to remove the hulls.

Visit my website at:   www.hearttohearthcookery.com

Posted by: hearttohearthcookery | October 16, 2013

Blue Flour Corn

IMG_7607-002  This is my 2012 harvest of Lenape blue flour corn and the best harvest to date.  I finally had enough to proceed with the nixtamalization process (the processing of the kernels in an alkaline solution to remove the hulls).

Visit my website at:   www.hearttohearthcookery.com

Posted by: hearttohearthcookery | October 14, 2013

Boiling Fresh Squash in a Pot

IMG_7633-001   The clay pot, filled with fresh, young squash and covered with four sunflower leaves intertwined, is supported by three rocks beside the main fire.  Embers from the fire are moved to surround the pot to provide the heat for cooking.

Visit my website at:   www.hearttohearthcookery.com

Posted by: hearttohearthcookery | October 13, 2013

Sunflower Leaf Cover

IMG_7629-001  The clay pot filled with young, new squash has been closed by using the stems of the sunflower leaves to hold them in place.  The pot is now ready to be placed at the fire.

Visit my website at:   www.hearttohearthcookery.com

Posted by: hearttohearthcookery | October 12, 2013

Fold them Naturally

IMG_7625-001  After the four sunflower leaves were placed between the clay pot and the squash, more small new squash were added to completely fill the pot.  Some water was added  and the leaves  then folded naturally over the squash covering the pot opening.

Visit my website at:   www.hearttohearthcookery.com

Posted by: hearttohearthcookery | October 10, 2013

Four Leaves

IMG_7623-001  It took four large sunflower leaves to completely surround the fresh squash in the pot.  Each leaf was carefully placed with the upper surface of the leaf inward and stems upward.  See previous posts for more information on preparing Boiling Fresh Squash in a Pot.

Visit my website at:   www.hearttohearthcookery.com

Posted by: hearttohearthcookery | October 9, 2013

Stem Upward

IMG_7618   Once a few fresh, small squash were in the pot, the leaves of the sunflower that had been kept flexible by immersion in water, were placed stem upward and upper surface of the leaf inward, between the squash and the sides of the clay pot.

Visit my website at:   www.hearttohearthcookery.com

« Newer Posts - Older Posts »

Categories